I get asked about my hair almost every time I post an outfit here or on social media. Which is kind of funny to me because I spend so little time on my hair, and it usually feels like a hot-mess. And I don’t consider myself any kind of hair expert, so I kept putting a tutorial post off. Then it dawned on me that I’m not an expert on 99.99% of the stuff I babble about here, so I finally decided to go for it.
I’m certainly no pro, and I don’t do anything ground-breaking with my hair, but this is the method I’ve used for ages and it works for me. I hope it comes in handy for you, too!

Shower Cap (so perfect for 2nd & 3rd day curls!)
You’ll notice the post is titled, ‘How to Curl Your Hair…& Make it Last.‘ The ‘make it last’ part is what’s key for me because I like to go several days between shampoos.
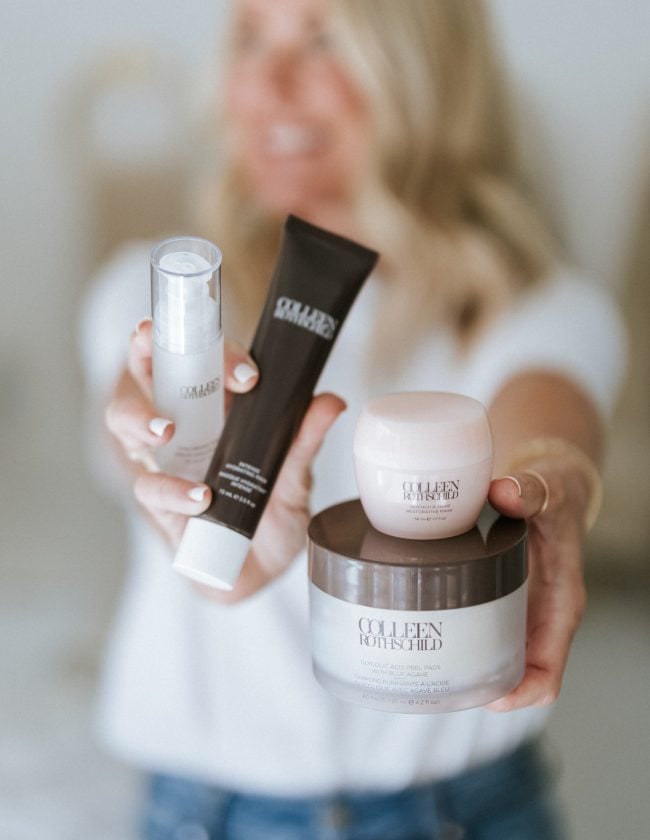
So the first step is starting with clean, dry hair. I upgraded to this hair dryer a few years ago and it literally cut my drying time in half (see my full review on the Dyson Dryer here).
After shampoo and conditioner, I add a little smoothing serum, then do a quick blow dry using a paddle brush. My goal is to get it dry and mostly smooth. I usually do this step at night, then curl it the next morning.

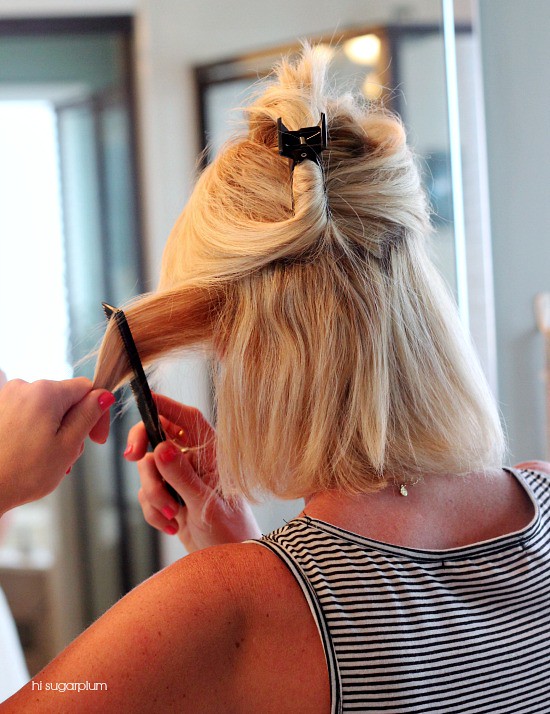
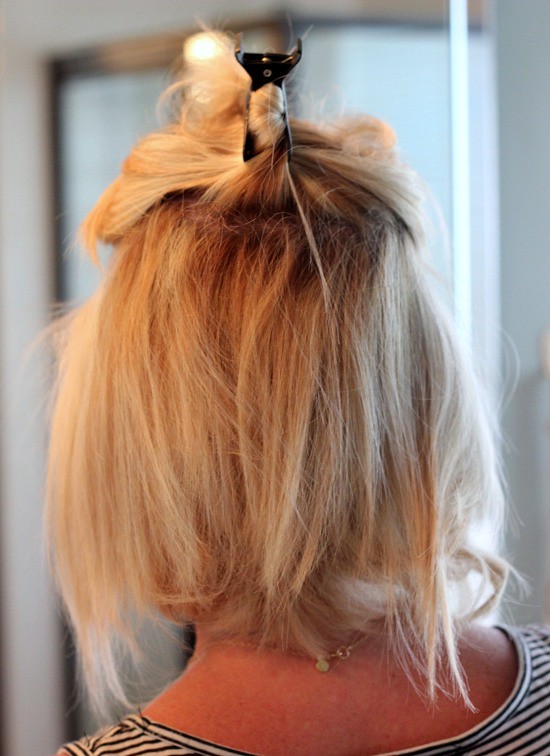
Start by clipping the top two-thirds up, and comb a 1-inch section.
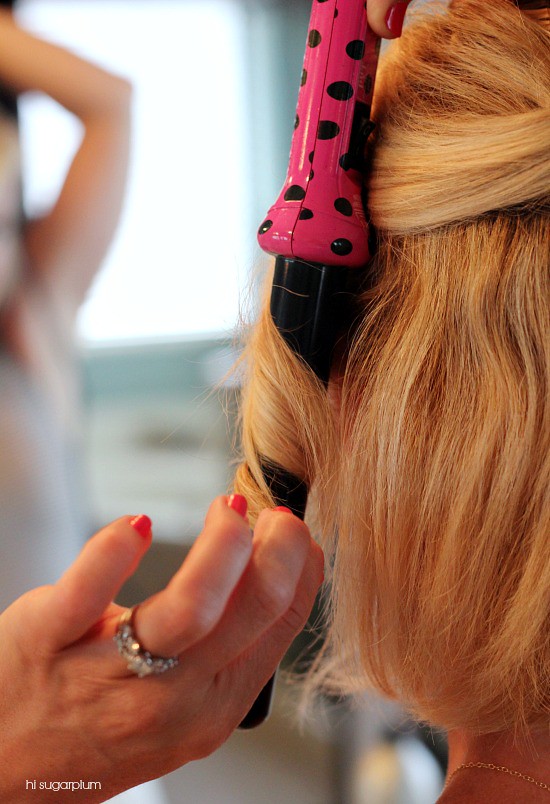
Hold the curling iron parallel to your head, and place close to the root.
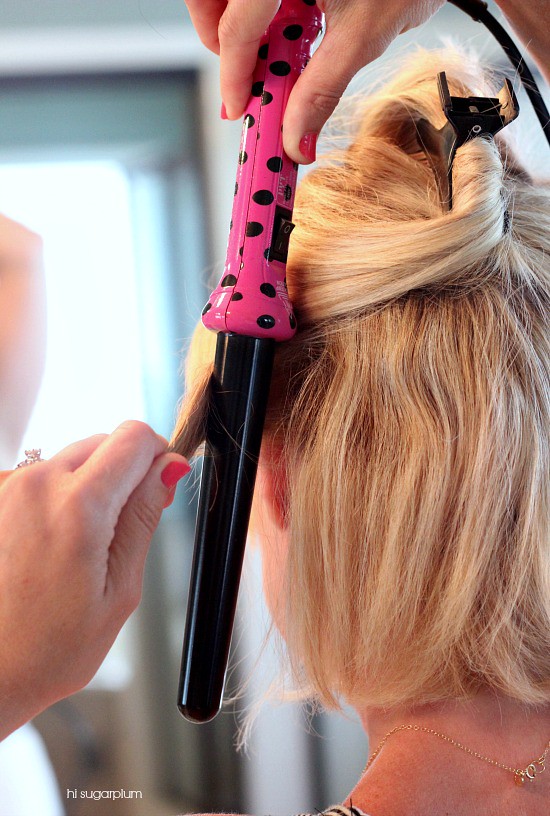
Wrap the section around the iron, holding the bottom inch away, and leave for 10-seconds or so. If you’re curling larger sections, hold it longer, and vice versa for smaller sections. Pull the iron out without touching or pulling the curls.
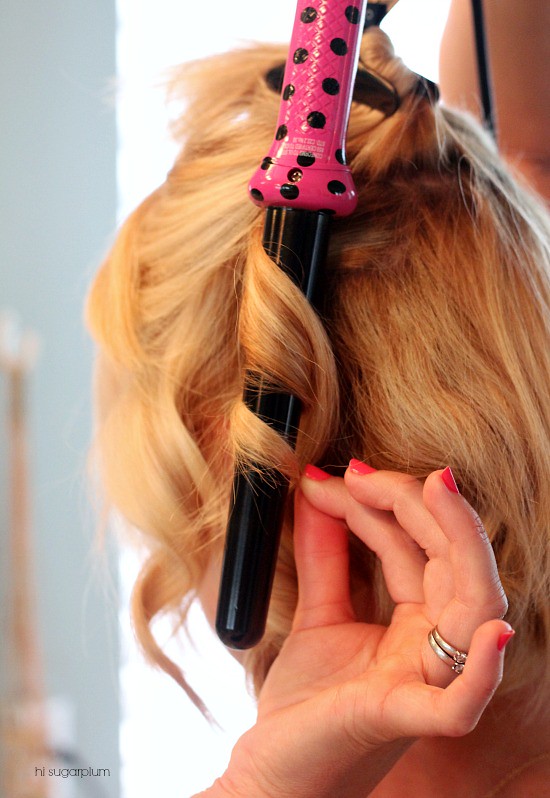
You want the most concentrated curl at the roots, not the ends, for a more natural look. So if you’re using an iron with a clamp, don’t place the iron on the ends and roll upwards toward the root. And just a sidenote, it took me 6 months to be able to use a curling wand without wearing the glove. There is no shame in the glove!
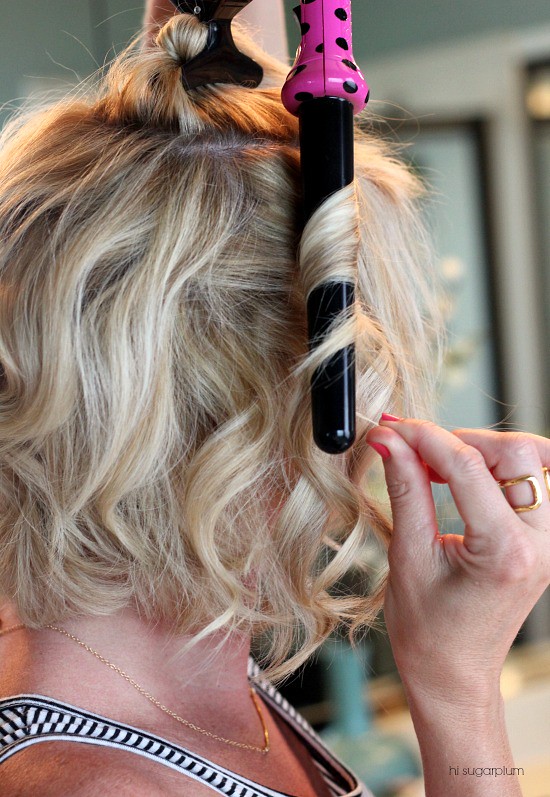
Work your way around, curling the bottom layer in 1-inch sections, then let another layer out of the clip.
Repeat the same process on the second layer. I like a messier look, so I don’t worry if some sections are curlier than others, or if I miss a section completely.
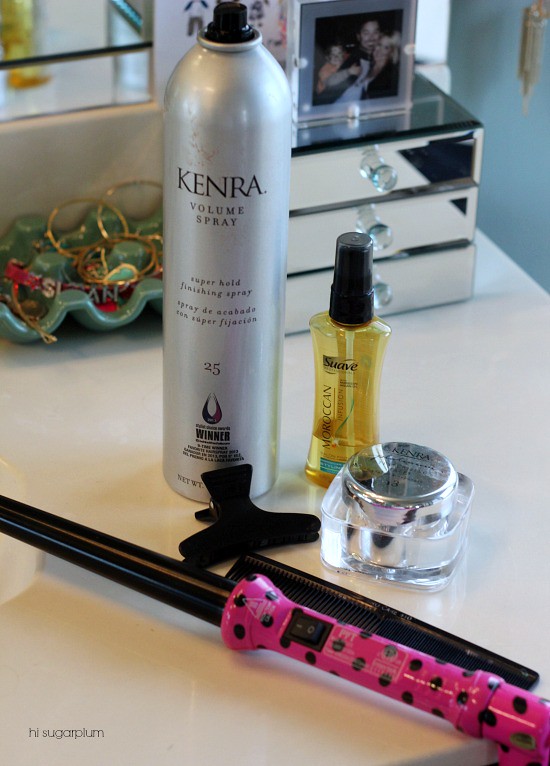
Once you’ve curled all the layers, spray a light mist of hairspray on your whole head.
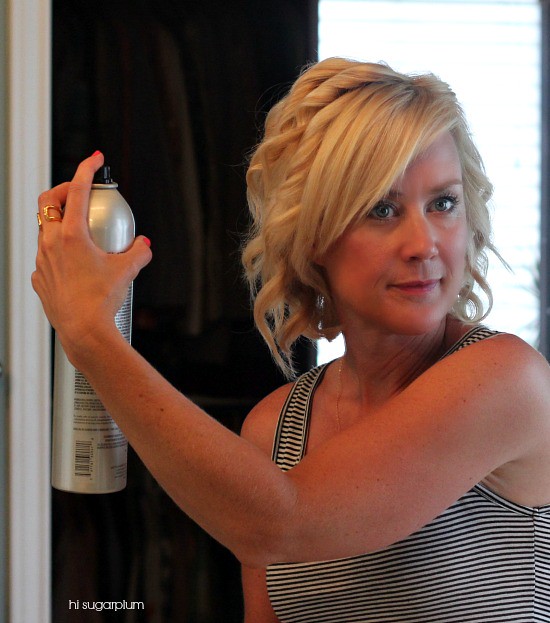
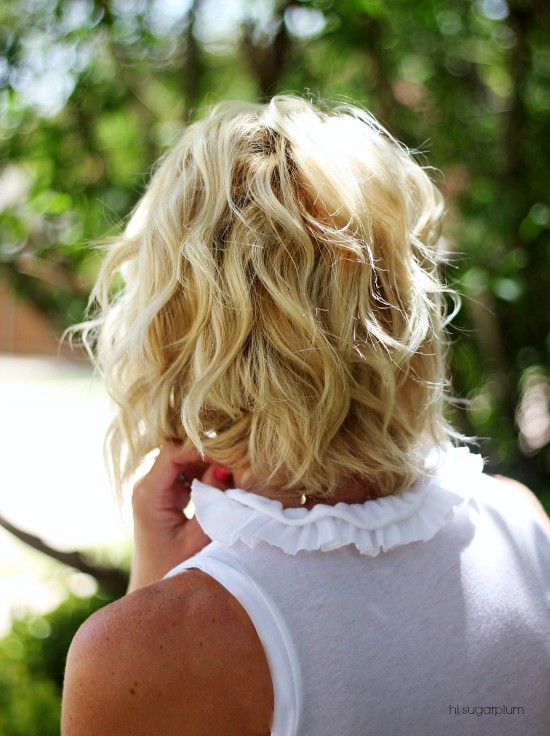
Let your hair cool completely without touching or pulling on the curls…this step is key for making them last!

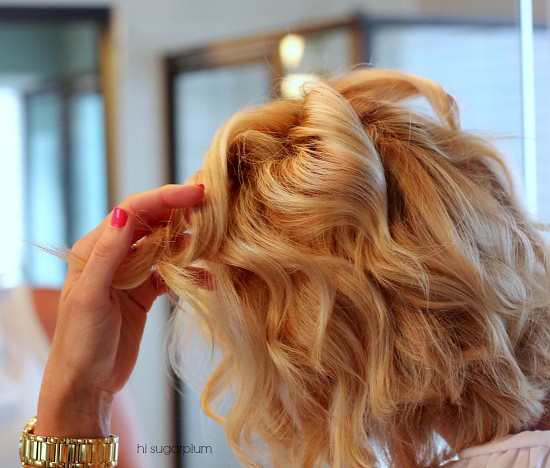
It typically takes me less than 10 minutes to curl my hair, and I let it ‘set’ while putting on my makeup and getting dressed. Then lightly run your fingers through your hair, separating the curls.
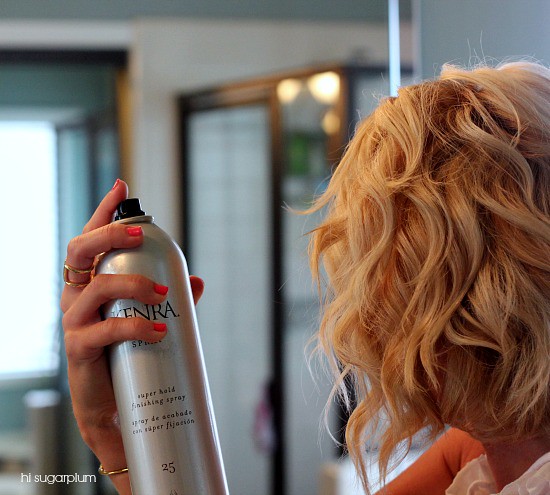
Follow with another light mist of hairspray.
For a piecey look, I finish by rubbing a little pomade in the ends with my fingers.
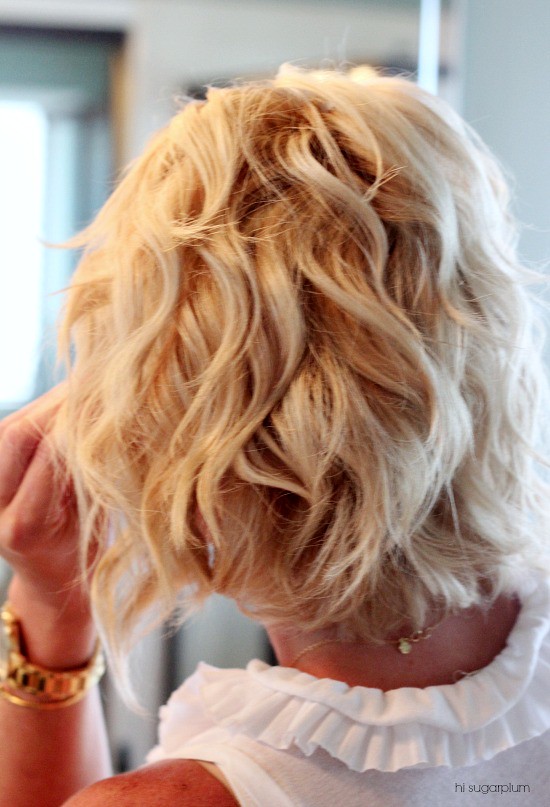
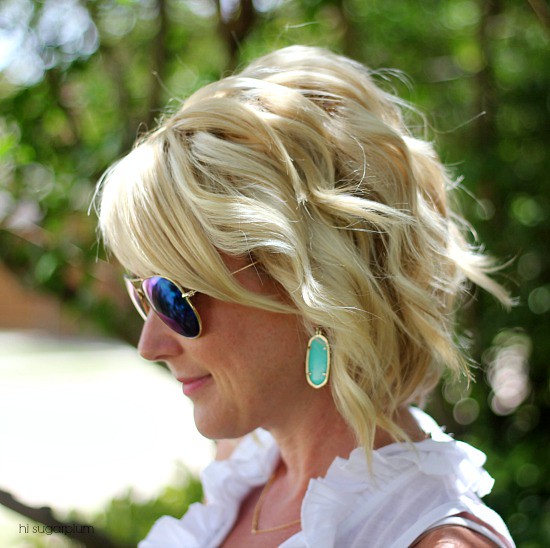
And there you have it!
 |
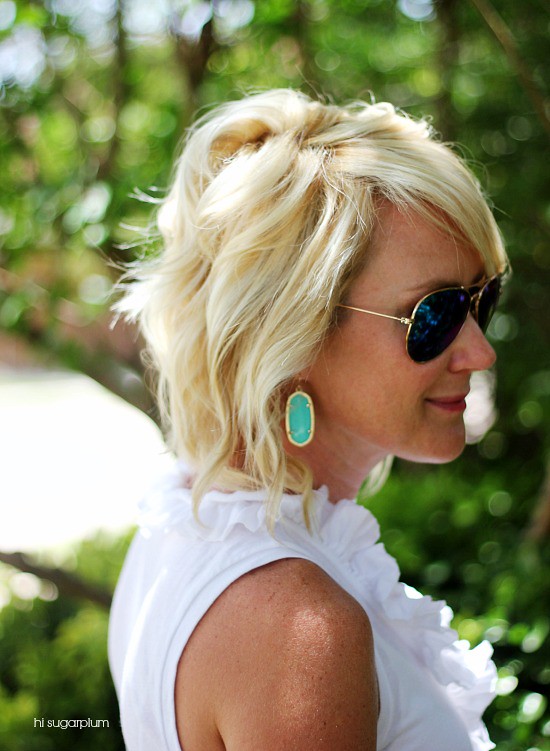
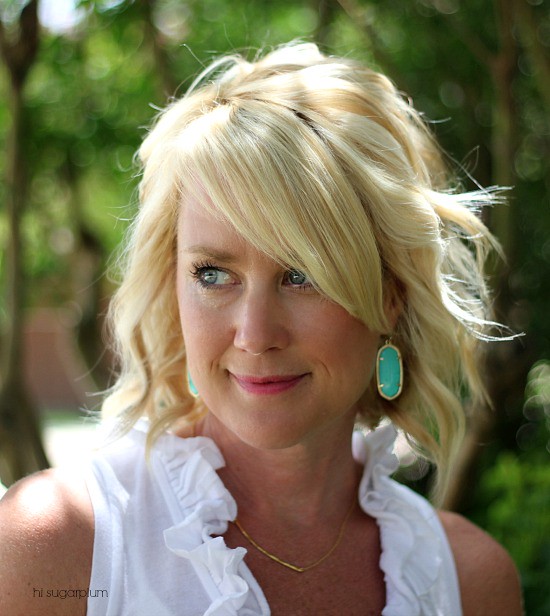
For day 2, I lightly comb the ends and re-curl a few pieces on the top and around my face.

Cozy V-Neck Pullover | Bralette | White Jeans | Bangle Set

Turtleneck Tunic Top | Jeggings | Leopard Flats

Day 3 is typically a ponytail or messy bun, with a couple of new curls around my face.

Fringe Sandals | Tote Purse | Off-the-Shoulder Top (on sale!) | Favorite Jeans | Earrings | Sunglasses

Quilted Puffer Jacket | Camo Crewneck Sweater | White Oxford Shirt | Jeans | Sneakers (20% off!) | Aviators
Shower Cap (so perfect for 2nd & 3rd day curls!)