When deciding how to design Babygirl’s Room, one of the things I knew I wouldn’t incorporate is an accent wall. I love them, but with my Son’s Room and his in-your-face striped wall right next door (separated by the striped bathroom no less!), I knew it would be overkill. (Hi, I’m Cassie, and I’m addicted to stripes.)
But since her room is a small little box with only one window, I wanted to add some kind of interest. Then I remembered how Janell faked crown molding with just paint. I took her idea and ran with it! (Isn’t that what blogging is all about?! Stealing Sharing ideas?!)
With 9-foot ceilings, I decided to make the crown moldings 8-inches tall. I figured they needed some visual weight in order to make a real impact; and subtle isn’t my middle name. First step was to paint the top perimeter of the room the desired color of the molding.

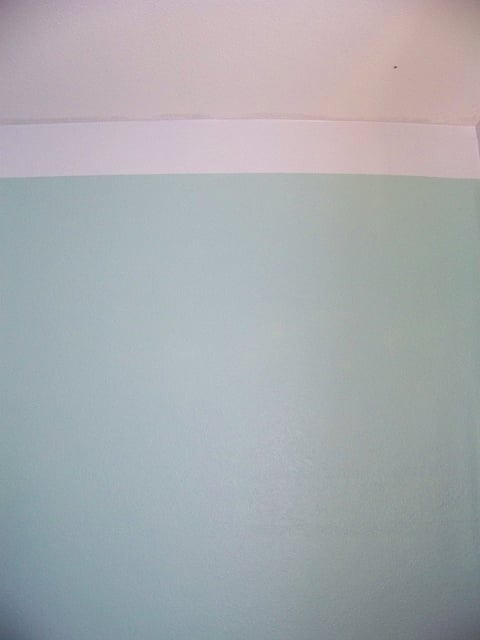
Then I made small pencil marks 8-inches down from the ceiling, about 4-feet apart, all around the room. This makes it easy to ‘connect the dots’ with your painters tape and paint a straight line. I typically use Frog Tape for stripes, but slight bleeding wasn’t an issue for me this time (you’ll find out why in Part 2).
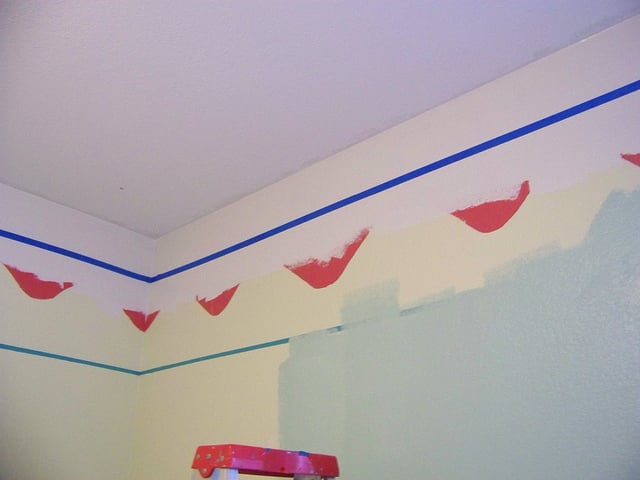
The top blue line is the painters tape, the turquoise line is part of the old nursery design.
Make sure you apply the tape over a fully-painted (dry!) area of the ‘crown molding.’
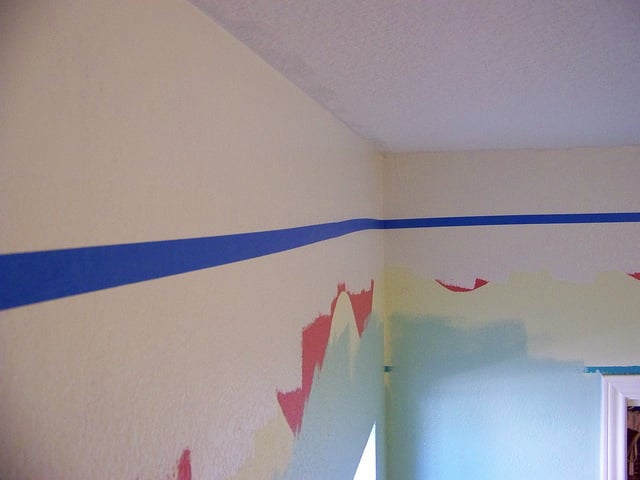
Then paint the bottom portion with your wall color, going all the way up to the taped line. I was able to do both steps simultaneously thanks to my free help! I painted and taped off the crown molding, while my mom painted the wall color.
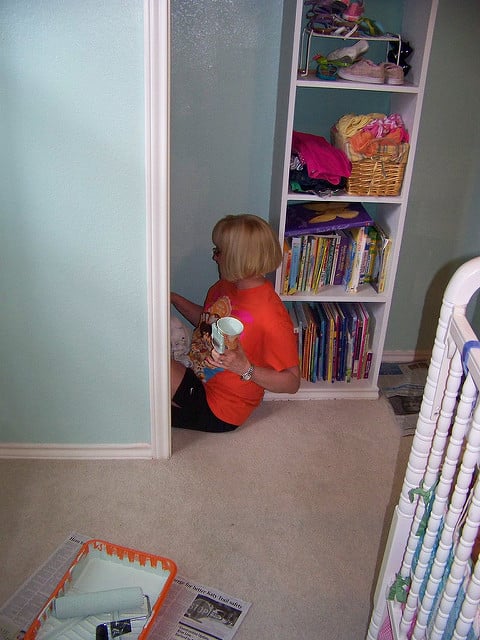
(She’s going to kill me…but I couldn’t have painted this room in a day without her help. Thanks Mom!! {heart})
As soon as you finish painting, peel the tape off, careful not to let it graze the wall (since the paint on the tape is still wet!) I’m a big believer in pulling it off immediately, before the paint has a chance to dry and peel off with the tape. You’ll get a much smoother line this way.
The paint is still wet in these pics, that’s why the room appears splotchy. But do you spot the problem?
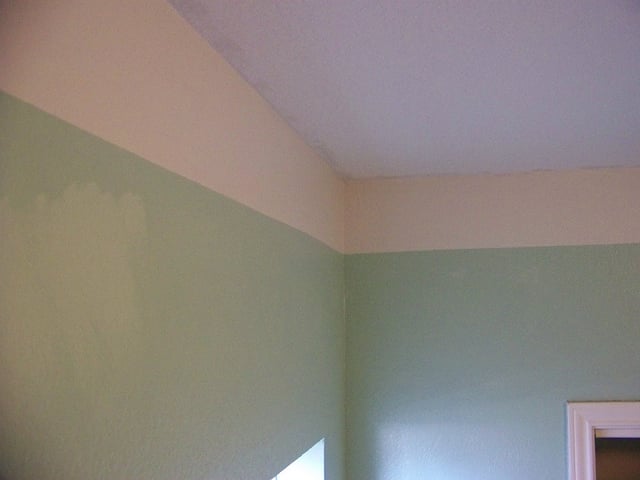
Uh-huh, nice hatchet job on the ceiling!

I’ll admit I was quite smug with myself as I blew through my painting. I thought I was saving all the time and trouble of cutting in along the ceiling line since I didn’t take the blue paint all the way up. Because the molding is white and the ceiling is white, right?!?!
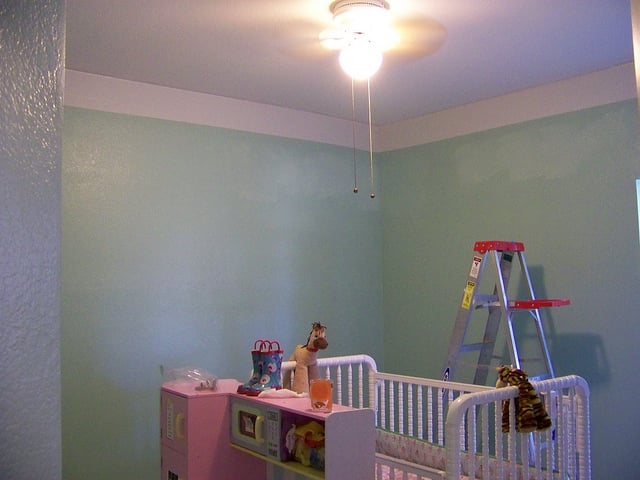
Negative. Even my ‘Part 2’ to my crown molding treatment won’t help this mess. The only solution is to paint the ceiling (aaaaaaaaaaaahhhhhh!). And if I’m going to paint the damn ceiling, I might as well make it interesting too, right? I mean, it is referred to as the Fifth Wall.
I picked up this color to test. Thoughts?
 |
| Martha Stewart for Home Depot in Sisal |
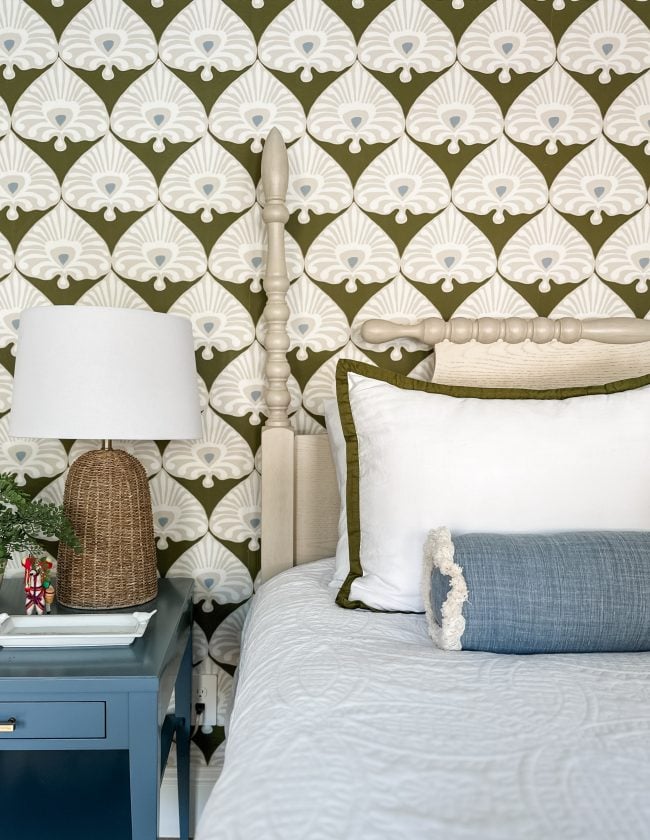
I found this inspiration pic combining the two colors, and I love it…so it’s helped to back my decision:
 |
| via Shannon Berrey |
I’m hoping my mishap is really a blessing in disguise. Thoughts on the ‘crown molding’ so far? How about my ceiling color choice? Or better yet, do you have any tips for painting ceilings without a flip-top head?!?
Update: See Part 2 of the Crown Molding and the finished trim here!

Ha! I do stuff like that! I do like the paint color you chose, I think it would look nice and make the room look extra cozy =)
Oh…wow, but you are making it work for you! Can't wait to see how the color looks, and thanks for the shout out! (Is your mom returning to help you paint the ceiling?!?)
Janell
I think the crown molding is going to look really great, it is definitely going to add some interest to the room. And I LOVE your color choices! It's going to look really good!
You poor thing! That is exactly the sort of thing that I would do. The color is beautiful, though!
I hate when stuff like that happens! Love the colors you picked out and that inspiration pic is gorgeous! I think crown molding will look fab and what girl doesn't want crown molding in her room!
ah man! what a bummer, btu the molding will be awesome! i never tape if it makes you feel any better. it's a pain in the arse. the trick is just to use a great cutting in angled brush. of course, for stripes i tape- i amnot that good! 😉
no fun! i sure love it though!
tips for painting a ceiling, lots of help!
Oh, girlfriend. You have quite the task ahead. The "crown" looks great. How sweet of your mom to help. You'll knock it out of the park. That inspiration picture is so beautiful. Just be sure to cover up that great hair of yours!
I think this little mishap is going to be a total blessing in disguise- that subtle pink is going to look amazing up against the wall colour and your crown moulding looks fabulous!
I agree with Christine… having the ceiling painted that soft pink color is going to be stunning! Love the wall color. That inspiration pic is the best nursery I have ever seen.
First off, you couldn't have chosen a better of the moment nursery. Seriously rockin my toes off. Secondly, are you ever going to run out of projects?? I stay up really late at night pondering this… 😉
Clever clever on the faux crown! Love that idea and I think it will really pop with a different ceiling color. It was meant to be! M.
I'm loving how this is coming together! Bummer about the ceiling but once it is done, it will be spectacular! 🙂
Love the idea of the "faux" crown molding…Totally awesome…and that nursery is just breathtaking! I saw it on 6th street this morning, too, and I am so enamored…
P.S. Thanks so much for your guest post yesterday! It was a *big* hit and I just loved having you! You're the best!
Ugh, that stinks! At least it is a snow day right?! My only advice for painting the ceiling is DO NOT over load the roller, you'll get splatter all over your freshly painted walls.
Bummer! The color is amazing though! I know it'll turn out beautiful!
Love the fake crown molding and the color looks amazing!
What is the name of the new wall color? I love it! Btw, I think the ceiling would look great painted the soft pink!
Subtle is not your middle name-ha! The crown looks great and I didn't spot the problem at first. I want to paint my office ceiling. You first! 🙂
This is why I love my painters!!! LOL Hubby too, he doesn't have hear me swearing!!! Ok, seriously…love it. One tip…I've watched my painters (I warned ya, I don't paint big spaces)…they cut in with a brush first, but then when rolling they use a long extension and stand a good bit back from where they are rolling so they are doing the flip top head thing, just looking up with their eyes if that makes sense. Good luck!!
Definitely like that colour xx
I like the faux crown molding idea and agree with the other comments about the soft pink ceiling. Very girly. The paint people at the Home Depot told me that if you use the actual ceiling paint instead of a flat paint, it is thicker and tends to cover more and splatter less. The only bummer is that it only comes in the gallon size!
Wear a shower cap- and use a neck warmer at night when you're done painting 🙂 Love the wall color!
"flip-top head" – is that what she said?
I think that color on the ceiling is going to look fabulous! And I love that inspiration pic you posted!
I am so excited to see how her room turns out! I'm slowly gathering supplies & ideas for my own daughter's room redo this year and love what little bit we've seen here!
Your fake crown is so posh! I know you will work out the ceiling mishap with NO problems.
I think the crown molding is going to look fabi! Hope it all works out with the ceiling! 🙂
I love the wall color, and I think that sisal would be cool on the ceiling(I did the opposite in my daughters room, tan walls blue ceiling)!
But can I give you a word of warning? We have been using the Martha brand paint on our living room- I have gone through 4 WHOLE gallons(3 almost 4 coats!!), and I still need to get more where you can see old paint coming through- it is ridiculous!
We also painted our ceiling- a light blue that we used in our last house and love… but I bought Behr paint plus primer in one and only needed one coat! I will not be using the Martha brand anywhere else in my house! URGH! but maybe no one else has had this problem?
Should have primed the ceiling first.
Take the blue wall color and paint a band on the ceiling … like a faux Trace Ceiling.
The room looks great! And I love the idea of the fake crown molding! You are right with pulling the tape off while its wet. I’ve let it dry before and it turned into a disaster. When I pulled the tape off, the paint came with it in what seemed like a million spots. So frustrating!! And turned into a lot more work. : (
Hi Ryan! We definitely learned a newbie lesson there! Glad to see you find this post! xo, Cassie