I think every kid has had a bulletin board in their room at one point or another. I know I did….covered with movie stubs, pictures of friends, honorary mention ribbons (The blue one were always elusive for me…guess the stuff I was good at wasn’t recognized by the school district? I jest.), homecoming mums, invitations, etc.
My son has had one in his room for a few years, and watching his collection of items change is a powerful reminder of how much he’s growing up. I know in the next several years the things will serve as indication that he is no longer my little boy….but a young man. {gulp, sob}
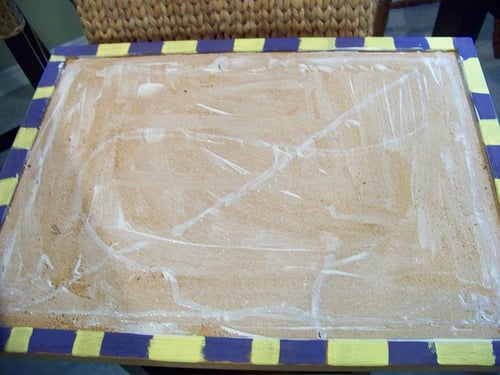
Here’s his bulletin board before I got hold of it:

It had his school awards on it as well, but he took those down for summer. Clearly soccer is his obsession of the moment, the Ozzie Smith pic is just daddy trying to steer him towards baseball too. (Nice try, hon!)
Don’t ask me why I painted it like this before….it’s just what happens when you get a wild hair and start digging through your craft box:

Now, the internets and blog world are chock-full of ideas on adding some Pizz-Azz to your regular old corkboard, so I’m not saying I’m a creative genius here. I’m just showing you what I did with mine.
These are my supplies for the first one:

Usually I use a little bottle of craft paint, but this is the paint I’m using in other areas of his room, so I’m going with latex semi-gloss. The fabric is burlap (already had), some thumbtacks ($2 for a box of 200 at Staples) and an adhesive. I also love those little foam craft brushes since you can toss them in the trash guilt-free after (once a year they are 20 for a $1 at Michaels, stock up!).
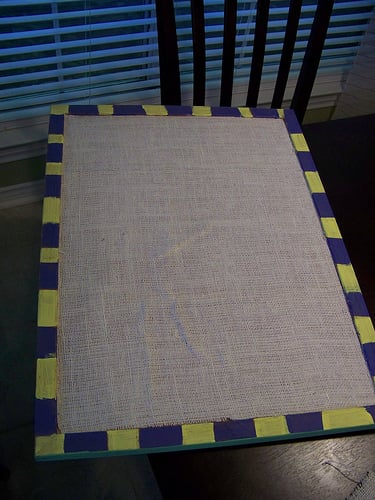
Normally I’d paint the edge first so I don’t have to worry about getting it on the fabric after, but I was too impatient to wait for the latex paint to dry and knew the burlap would scratch up the paint if I didn’t let it cure long enough. So I covered the cork area with a good layer of Mod Podge first:
I thought since the burlap was so heavy the Mod Podge would be the best adhesive to use….but if you duplicate this project, do yourself a favor and use spray adhesive. It took some time for the burlap to start sticking and stay in place.
Next I placed the fabric over the board with about 2 inches of overlap on all sides. Then I used a straight edge to press it down along the edges while still trying to smooth out the wrinkles. This is where a faster adhesive would have been helpful!

Using a razor, I cut the fabric along the edge as close to the frame as possible. I didn’t worry too much about it being perfectly straight since I used a trim to cover it.
Then I gave the trim a few coats of orange (the accent color in my son’s new room):

The next part is tedious, but it’s also a good time to catch up on the stockpile of Reality TV in your DVR. (don’t act like you don’t!) I wanted the look of nailhead trim, but didn’t want to buy 87 boxes of the pricey nails….so I went with good old fashioned silver thumbtacks.

(um, there might have been some drinking going on too)
I think it turned out pretty snazzy…and I love the texture the burlap and tacks give it.

I left it clean for him to fill however he wants, I mean, it is his room after all! (I’ve had to repeat this to myself a few times during this makeover!)
Another thing I knew I wanted for his room was a big map. But have you seen how $$$ those things are?!? Plus, being able to put pins in it is so much more fun and interactive! I found this big corkboard in the garage:

It’s seen better days. I think the boys have been using it as their backstop for batting practice….um, not anymore! A few coats of paint on the trim later:

You might want to check to be sure there’s no errant nails poking out the back, because you might scratch your table when skootching it around. And trust me, it won’t take long for your spouse to see it! Damn Mr. Sugarplum can be observant on the wrong things!
I found this cool map poster/decal at World Market for $12 (love the flags too!) and just applied it to the board after the paint dried.

Awesome right?! I hope he fills it with pins of places he’s been…and places he wants to go! Speaking of, we’re heading to Sanibel Island, Florida soon for our family vacation….anyone have any little gems we should know about?!

Oh yeah…you see that little sliver of a teaser? Your life can finally go back to normal because I’ll be posting the big, fat AFTER pics of the room tomorrow!