
Okay, so my attempt to recreate Nichole’s greatness didn’t go so well. Once my eye and ego recovered, I set out for Plan B. I still liked the idea of a paper lantern, but I knew it needed to be smaller, and I also realized the room called for something more simple.
CraftyNest has a lantern that fits all the criteria…plus pom poms!
 |
| CraftyNest paper lanterns |
Ikea doesn’t carry a smaller lantern, so I picked up a pack in the party section of Michaels, along with a spool of pom pom fringe (on this shopping trip).
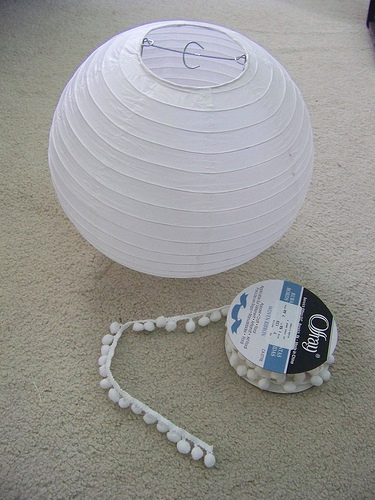
I followed CraftyNest’s tutorial:
Apply a thin line of hot glue along the paper lantern’s ridges, a few inches at a time. Adhere the fringe to the glue, then repeat. DO NOT follow the ridge all the way around because the frame is constructed as a spiral, so your ends will never meet. So, when you get six or so inches from the end, start directing the line to connect to where you started.
This is not one continuous strip of fringe. Each ring is it’s own complete circle. Count the total number of ridges first and determine your spacing…mine were 4 apart.
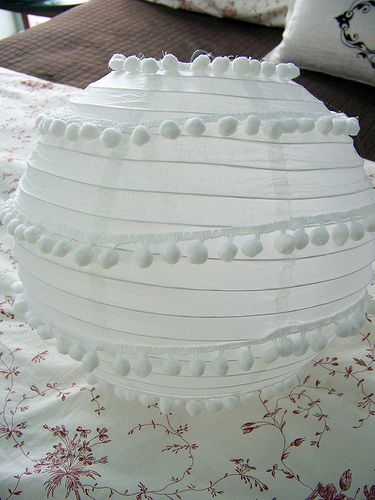
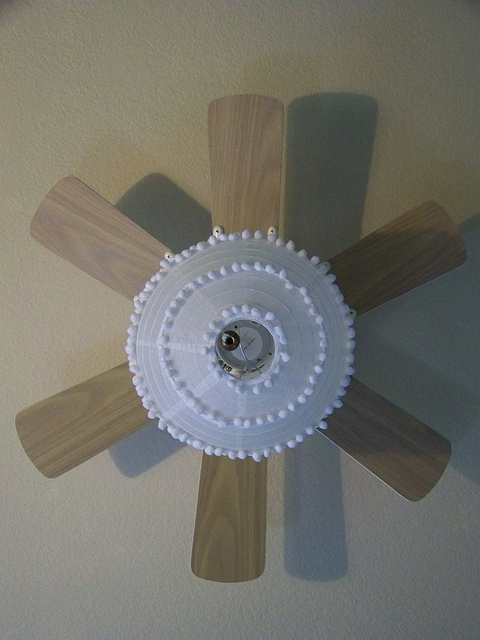
So cute! Not only did it take just 10 minutes to make, but it’s also light as air. Not a single injury incurred!
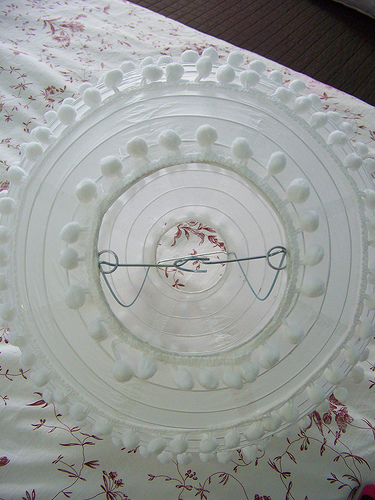
Mr. Sugarplum attached it to the base of the fan using plastic tie wraps, and Voila!
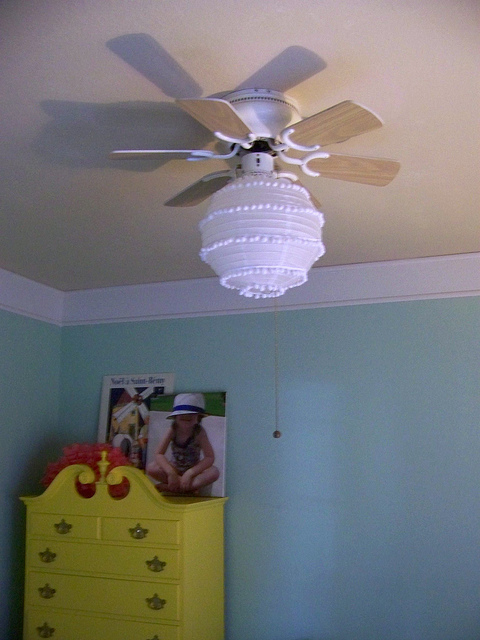
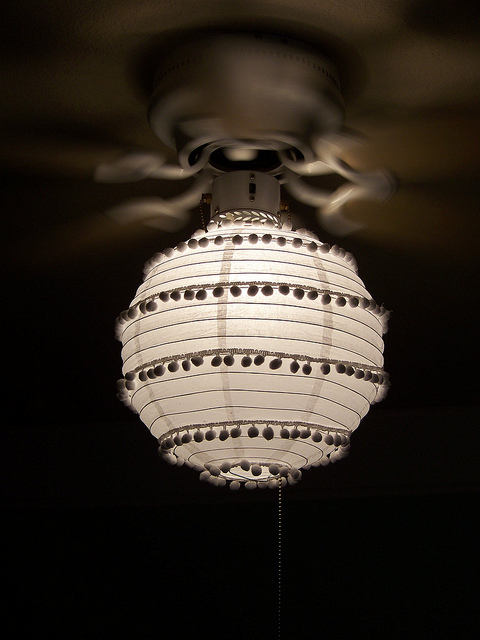
The proportions are better with the smaller lantern, and it doesn’t look like I’m trying to completely hide the fan.
LOVE it at night!
I especially love how it ties in with the pom poms of her bedding (and Art Center tins!)
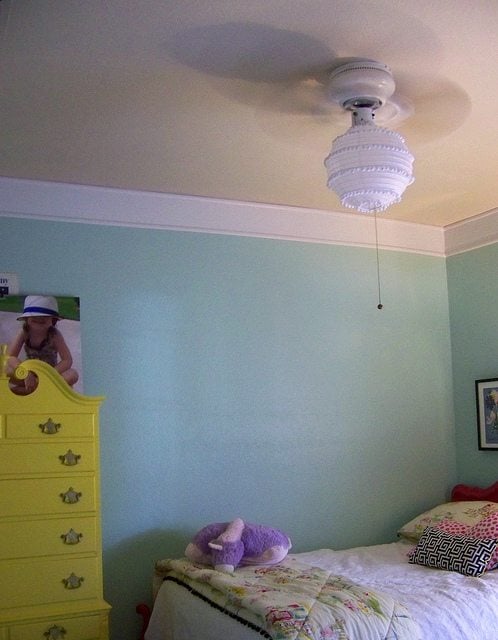
I found so many ideas for jazzing up paper lanterns that I may be switching it up from time to time. But I can finally say that this is the
Up next is the finished Gallery Wall, then the Full Reveal!! What do you think about this light fixture?


So cute. I love the idea of the pom poms. I was so sad for you after your other lighting project, but it was worth it. This is adorable.
Yeah! You found an alternative! Great and it looks adorable!
Could not be any more adorable!
It looks great! Glad it was injury-free.
Ohhhh yes! This is definitely perfection! So dainty and feminine! Way to go Cassie! 🙂
I definitely think the more simple fixture works better! I am happy to hear there were no injuries with this one:)
Very cute! I love pom pom trim!
Very cute! I too love the nighttime look!!
I'm in love with pom poms these days- so cute!
So fun! Love the pom poms!
Just like my high school yearbook said about me, I will say about this project. "CUTE & EASY!" 🙂
Now I did love the other lantern, but this one is perfect! Simple, chic and no injury!!
Blessings!!
Supercute! I will try some version of this for sure for my nursery! Thanks!!!
Supercute! I will try some version of this for sure for my nursery! Thanks!!!
so sweet! love how it looks at night 🙂 v whimsical. xoxo jillian:: cornflake dreams
OH, Cassie! Great choice! It looks adorable. And you are right about the proportions. It looks awesome at night.
Wow!! So much better! I'm so glad that story had a great ending!
This definitely fits just right! I also love how it looks at night.
It's perfect Cassie!!! I could put pom pms on everything, they are adorable!!! Great job!
It's so cute! I love the addition of the pom poms! Perfection!
By the way I still have two boxes of trader joes corn beard mix that I need to mail out to you! I can't believe I have yet to make it to the post office. I will do it by the end of week. 🙂
I loved the coffee filter version but this is SUPER cute!! Love it! And I'm giggling about your last line that this is officially the last project in Babygirl's room……just give it a couple of years until she wants Taylor Swift posters all over the walls! 🙂
I love the pom poms. It looks fab in the dark, too!
Brilliant and simple simon! I'm so glad you posted this because I was about to tackle the coffee filter fixture…but I'm re-thinking that now! (c:
I LOVE this one! In fact I prefer it to the other one. It's light, girly and fun!
Well done. I am so going to keep this one on file for later – my daughter Isabella will love it.
xx Charlotta
Perfect size for the fan! Can't wait to see the gallery wall and the full reveal (TWSS).
Cass I love it, it looks so cute in her room. Doesn't it just kill you about how much less it took with this one?!
Love the pom pom fringe! So cute!
So cute! Great idea!!
I'm in love, what a great way to spice up a ceiling fan! New follower.
http://sweetteaserendipity.blogspot.com
Super cute! and I'm sure it won't fall off the fan this time!! 😉
Stopping b from TT&J weekend wrapup. this is adorable. I wish I had girls, i think the pom poms would look a bit sill in my boys Music themed room, but again this is ADORABLE!!